
Choose a Dimraeth solo class together with its race, and favour a combat rhythm you can sustain without a teammate. Human Mage offers a concrete Burning direction with sword-and-crossbow decisions between casts. Minotaur Brawler offers deliberate melee with room to develop movement, Bleed or a Blunt-control interaction. Shadow has a Bleed example built around openings and follow-ups, but there is no reliable same-condition ranking that makes one class the universal solo winner.
Solo play is supported. You do not need to create a character solely to fill a party role. What you do need is a way to attack when resources are low, a repeatable main sequence and a response when the enemy does not give you the opening you wanted.
Dimraeth solo choices by play preference
| You prefer | Direction to examine | Check early |
|---|---|---|
| Organising spells around an elemental effect | Human Mage Burning | Your basic-attack recovery rhythm and the role of each fire action |
| Deliberate close combat | Minotaur Brawler | Attack commitment and the movement available before later upgrades |
| Positioning and setup before the payoff | A Shadow Bleed direction | How you create the opening when no teammate holds attention |
| Building toward control | Minotaur Brawler Blunt interaction | The conversion node and prerequisites, rather than assuming it is present from creation |
These are recommendations about fit. They do not claim equal starting gear, measured clear times or a completed allocation for every option. The Dimraeth classes guide covers the full three-class roster before you narrow the choice.
Human Mage: build around an effect you can repeat
A Human Mage fire direction can use Fireball and Conflagration to apply Burning, then choose a compatible follow-up. Oil can support Burning spread, while a Combusting Fireball uses existing stacks for its payoff. Those actions have different jobs.
For solo play, ask whether you can establish the setup and still find time to recover. A spell sequence that requires the enemy to stand still for too long may feel comfortable in co-op but awkward when all attention is on you.
Human's sword and crossbow belong to its racial kit. Use the form that suits the next opening and remember that Weapon Swap has a cost in the recorded examples. A caster who repeatedly swaps and casts without landing ordinary attacks can run out of Concentration regardless of how attractive the tree looks.
Mixed utility is worth considering. A Human Magician example uses fire, ice and curse-related effects, showing that a fire direction need not fill all five active slots with fire. That co-op example does not prove a complete solo configuration, but it does challenge the idea that every useful slot must share one damage theme.
Minotaur Brawler: learn the opening before extending it
Minotaur Brawler starts with a deliberate melee rhythm. Use short openings until you know how long an attack keeps you committed. Finishing a larger sequence is only beneficial when you can survive the response.
Later access to Vortex changes the mobility available to the character. The movement can help escape danger or prepare the next attack. Before choosing a modifier that changes that behaviour, decide whether another part of the loadout will take over its movement job.
Bleed and stun should be evaluated as separate directions. A Bleed sequence needs an application and a payoff, with resource generation retained when skills change. The Blunt-control interaction depends on a keystone converting basic attacks and does not promise uninterrupted control of every boss.
If you dislike the starting attack rhythm, do not choose Minotaur solely because a late interaction sounds powerful. The route to that interaction is part of the solo experience. Conversely, do not judge the developed build entirely by the first few attacks before movement and supporting skills become available.
Shadow: create your own safe setup
The Shadow Bleed example uses positioning, Tendon Slice and Dark Convergence, with a defensive pet effect contributing to the setup. For solo use, the practical question is how you create a safe opening without relying on a second player to occupy the enemy.
Examine the attack or position that starts the sequence. Then identify the follow-up and the recovery action. If a pet barrier or another defensive effect makes the opening possible, count it as part of the case rather than quietly removing it from the explanation.
Do not assign a best race to Shadow based on a rogue-like appearance. Race and class contribute different parts of the kit. Compare the racial basic attack you want to use, then inspect the selected Shadow combination's tree.
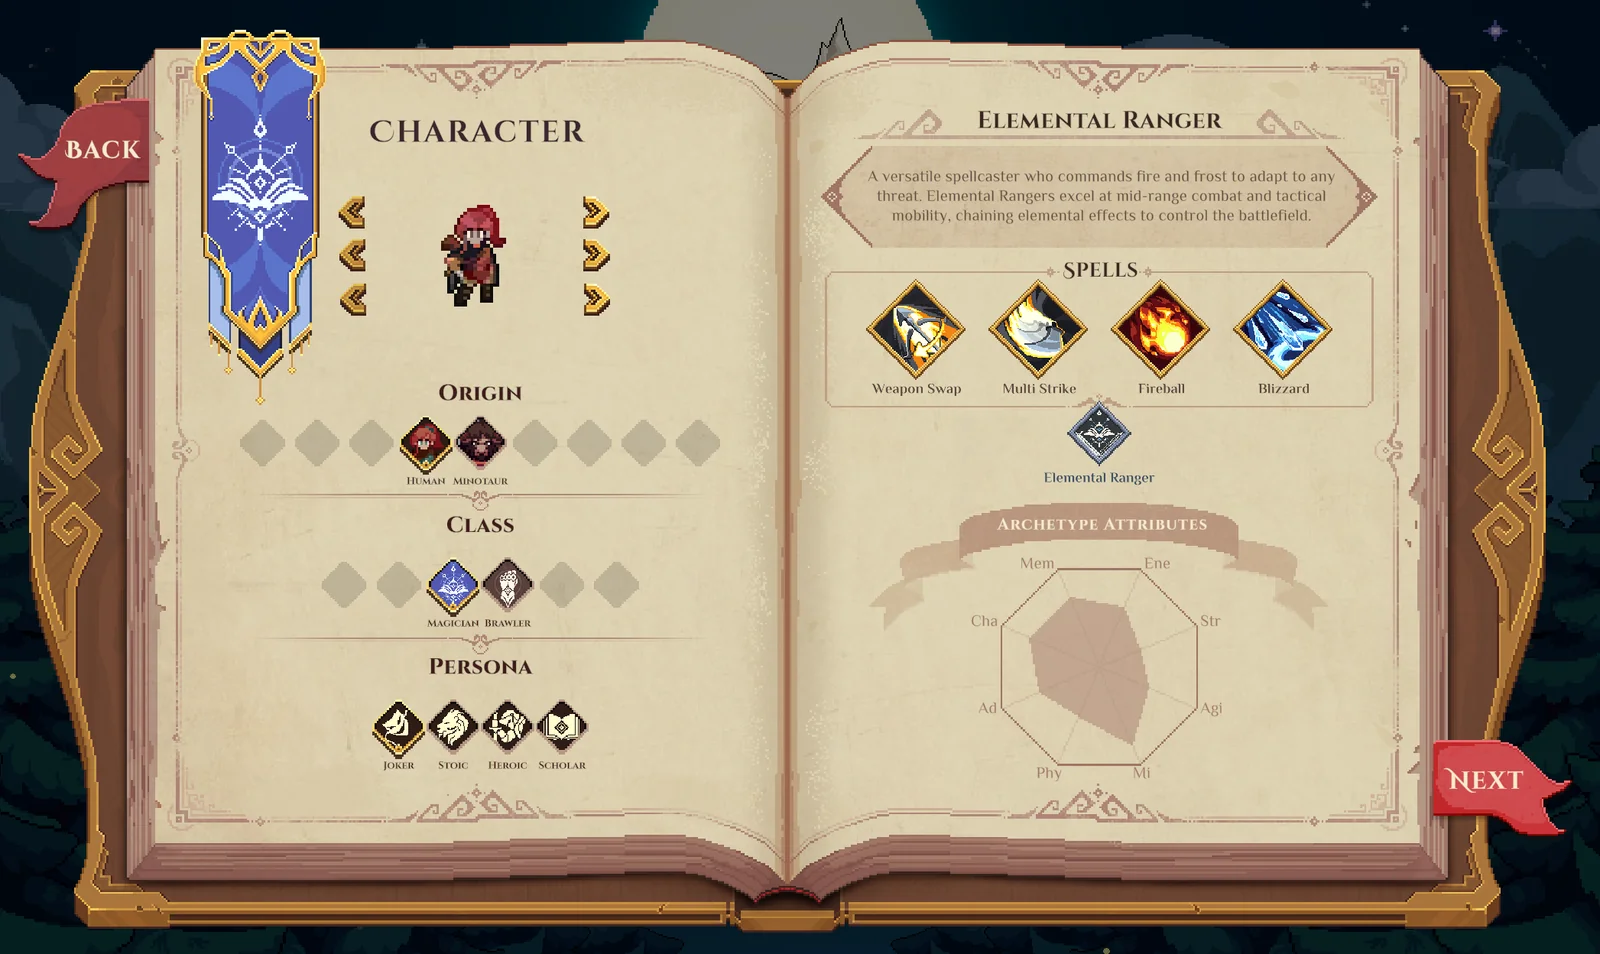
The character-creation interface separates race and class. The illustrated development screen is not a complete current roster or a solo-strength ranking.
Recovery and preparation matter across classes
Landing basic attacks restores Concentration during combat. Your solo plan therefore needs a position from which those attacks connect. Missed swings do not become effective recovery just because you are pressing the correct button.
Prepare consumables before entering danger. Rest and check charges when appropriate, and make sure the intended items occupy usable slots. Backpack restrictions during combat make an improvised inventory fix less reliable than preparation.
For acquired spells, inspect learning requirements and active assignment. A book in the bag is not automatically an action on the bar. The Dimraeth spell-equipping guide helps distinguish a class problem from an unmet requirement or input mistake.
A fair solo comparison
Use a familiar encounter and comparable progression. A character with a developed set bonus, extra spellbooks and a supporting pet has advantages that cannot all be attributed to the class name.
During the comparison, watch four things: whether ordinary attacks connect, whether the main sequence can repeat, whether a defensive or movement action remains available and whether the setup survives one missed opening. Those observations are more useful for your decision than a single unusually large damage number.
Change one thing before the next attempt. If you alter race, class, equipment and spell selection together, a better result will not tell you which change helped.
The Dimraeth class guide compares the supported directions in more detail. Start with the combination you can control reliably and improve its actual weak point. A comfortable recovery loop and a safe response to danger are more useful solo than an unsupported promise that one class makes every encounter easy.